Exporting data to Google BigQuery
In this article, we’ll export a table from Y42 to Google BigQuery
Step-by-Step guide
Step 1:
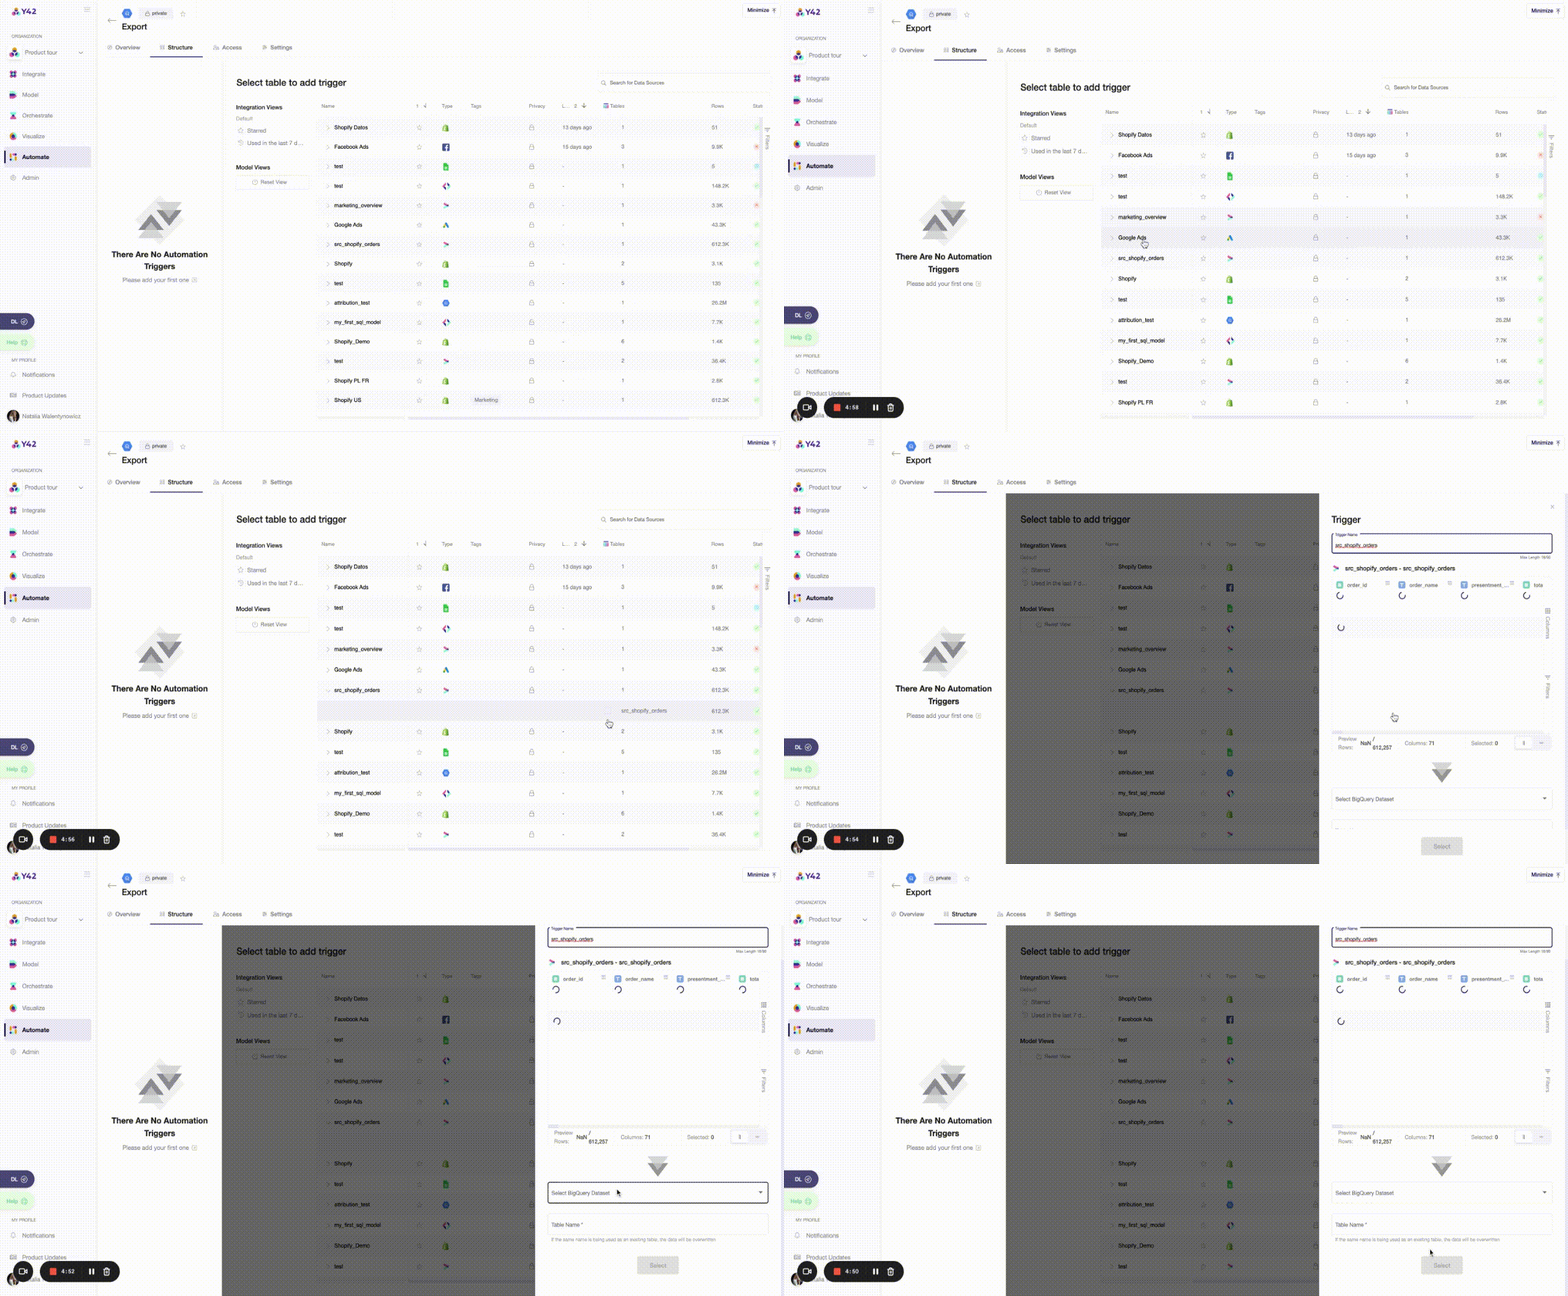
Go to the Automations workspace and click on Add on the top-right corner.
Step 2:
Add a Google BigQuery automation and name it as the table you want to export.
Step 3:
Authenticate by proving your Service Account JSON.*

*To use a service account from outside of Google Cloud, such as on other platforms or on-premises, you must first establish the identity of the service account. Public/private key pairs provide a secure way of accomplishing this goal. When you create a service account key, the public portion is stored on Google Cloud, while the private portion is available only to you.
In order to setup get the key to connect your Google BigQuery as an integration, you will need to have a Google Cloud account and a service account. A "Service account" is an identity that an instance or an application can use to run API requests on your behalf.
Make sure the service account has the required permissions:
- BigQuery admin
- Storage admin
- Storage object admin
After that, you may go to the section "Keys". Add a new key for this service account by clicking on "Add Key" and create a private key. Please download the file that contains the private key as JSON file and store this file securely because this file can't be recovered if lost. After having downloaded the private key as a JSON file, you can upload it to authenticate your BigQuery export.
Step 4:
Step 5:
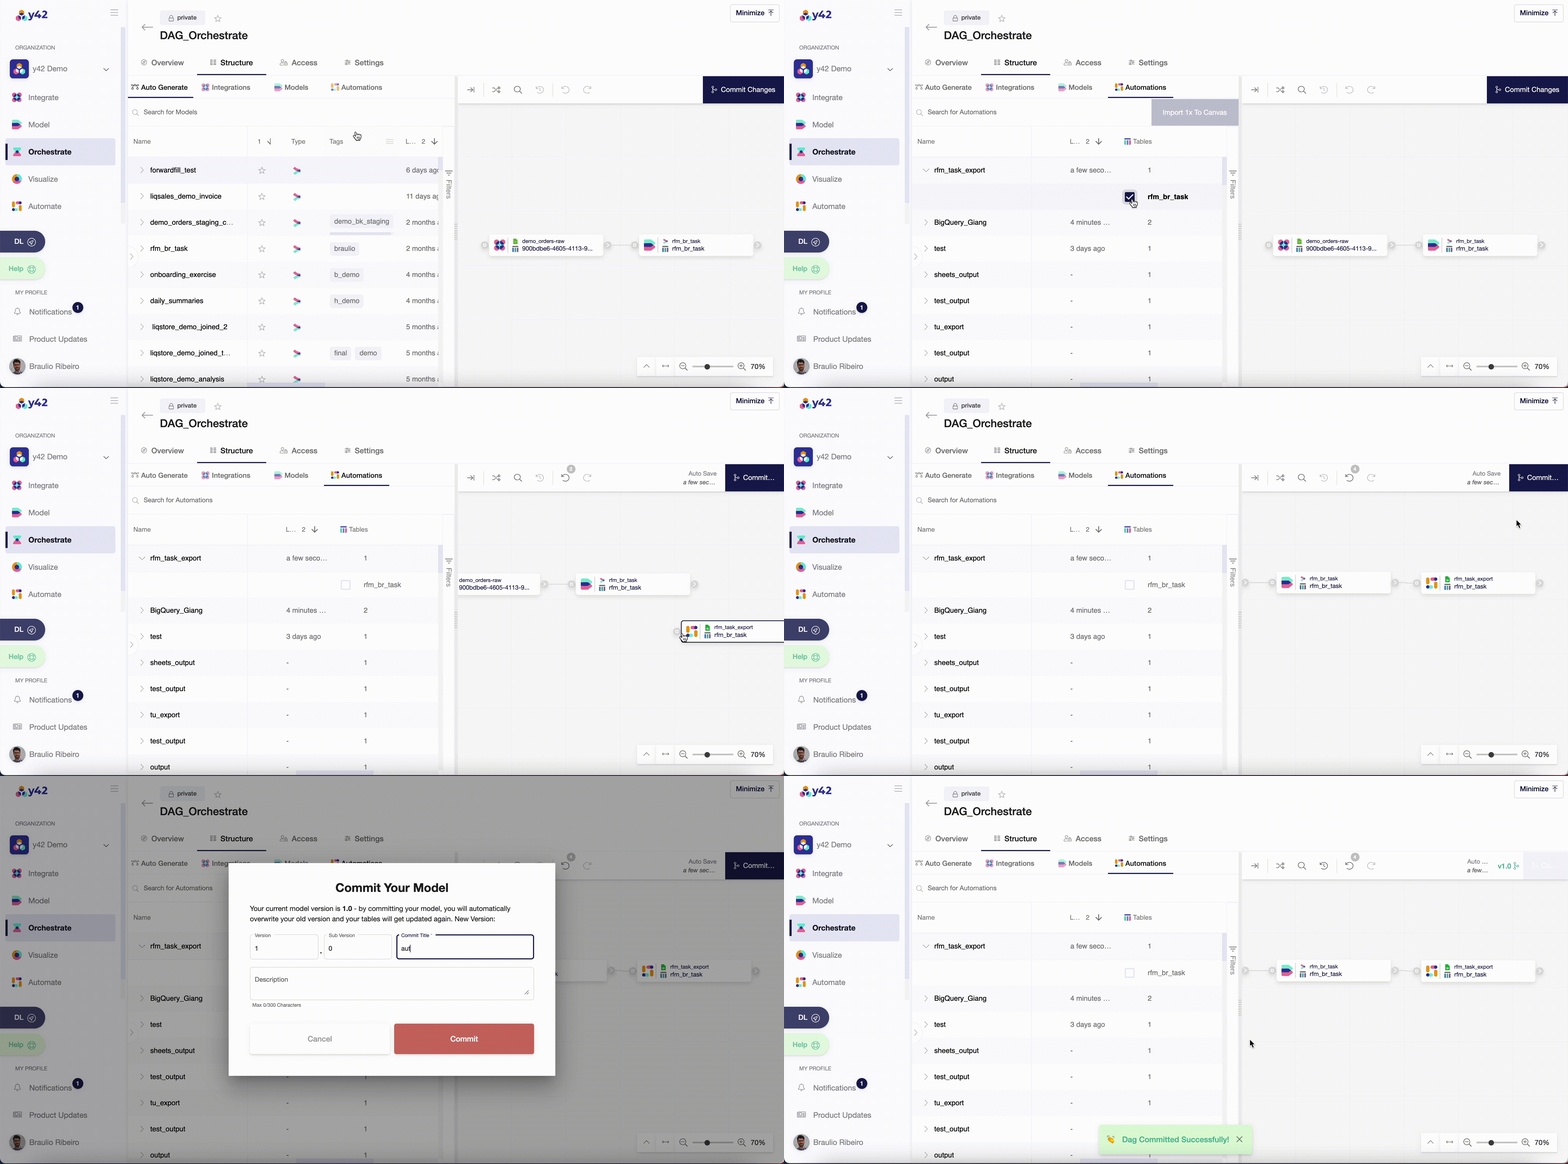
Adding your Automation to an Orchestration
Include your automation to an orchestration to let your export be updated whenever new data is imported.

- Once you have a DAG created inside your Orchestrate, you can click on Automations to add your automation to the DAG pipeline. (refer to the Orchestration article for more information)
- Connect your Automation node to the table that is the source for your automation.
- Click on Commit Changes.
