Orchestrating Data Workflows
What’s Orchestration?
Our Orchestrate feature allows you to automate jobs within your Y42 organization. In other words, it allows you to schedule and monitor workflows and your entire pipeline in Y42 containing integration data sources, models, and even automated jobs to export data to an external application.
On our Orchestrate you will use directed acyclic graphs (DAGs) of tasks to establish workflows. The scheduler will then execute your tasks on an array of jobs while following the specified dependencies. With our user-friendly user interface it is possible to easily visualize pipelines running in production, monitor progress, and troubleshoot issues when needed.
Watch the following video for a more comprehensive overview on Orchestrate:
What’s a DAG?
Just like in Airflow, a DAG – or a Directed Acyclic Graph – is a collection of all the tasks you would like to run, organized in a way that reflects their relationships and dependencies.
For example, a simple DAG could consist of three tasks: A, B, and C. It could say that A has to run successfully before B can run, but C can run anytime. And through our scheduler, this DAG could also say that the workflow will run every night at 10pm.
Note: Each data source can be only triggered once every 30 minutes by a scheduled run.
In this way, a DAG describes how you want to carry out your workflow; but notice that these jobs do not necessarily need to be performing the same type of task. Task A could be an incremental import on a specific data source, while task B could be to run a model dependent on A, while C could be an automation to export the final output of B to a Big Query dataset. It is up to you to build your own customized DAG!
How to create a new DAG
- Click on Orchestrate in the left main navigation bar
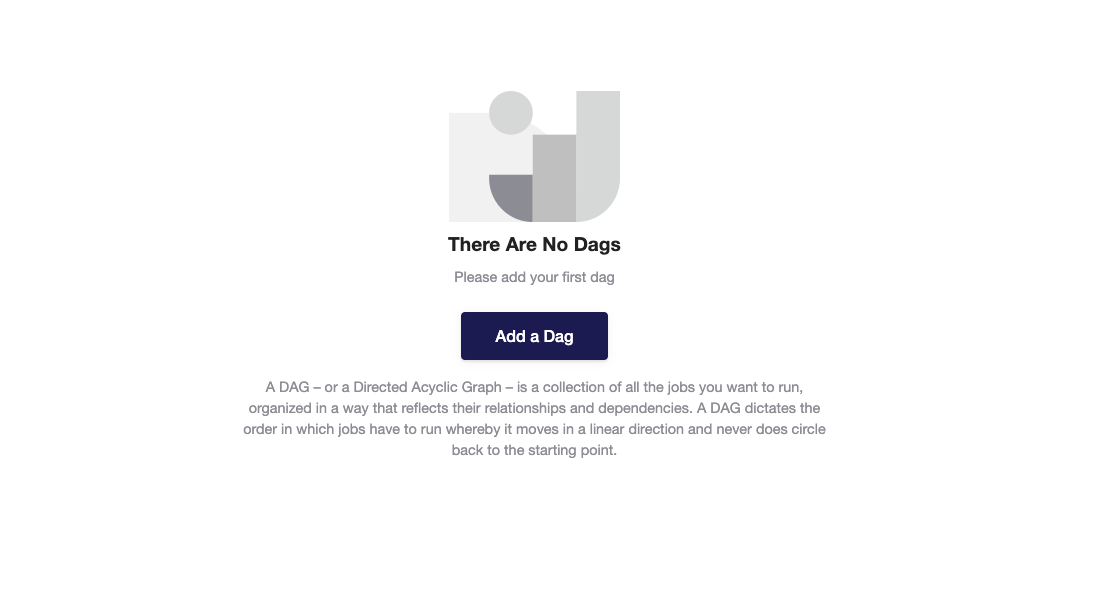
- Click on Add a Dag, or Add… if you already have one created, and give a name to your DAG.
- Go to Structure and navigate through the tabs Integrations, Models, Automations, or Auto Generate to import job/table nodes to the DAG.
- Connect the nodes in the correct order, following their dependencies, by dragging them in the canvas and linking them to each other (arrow to square).
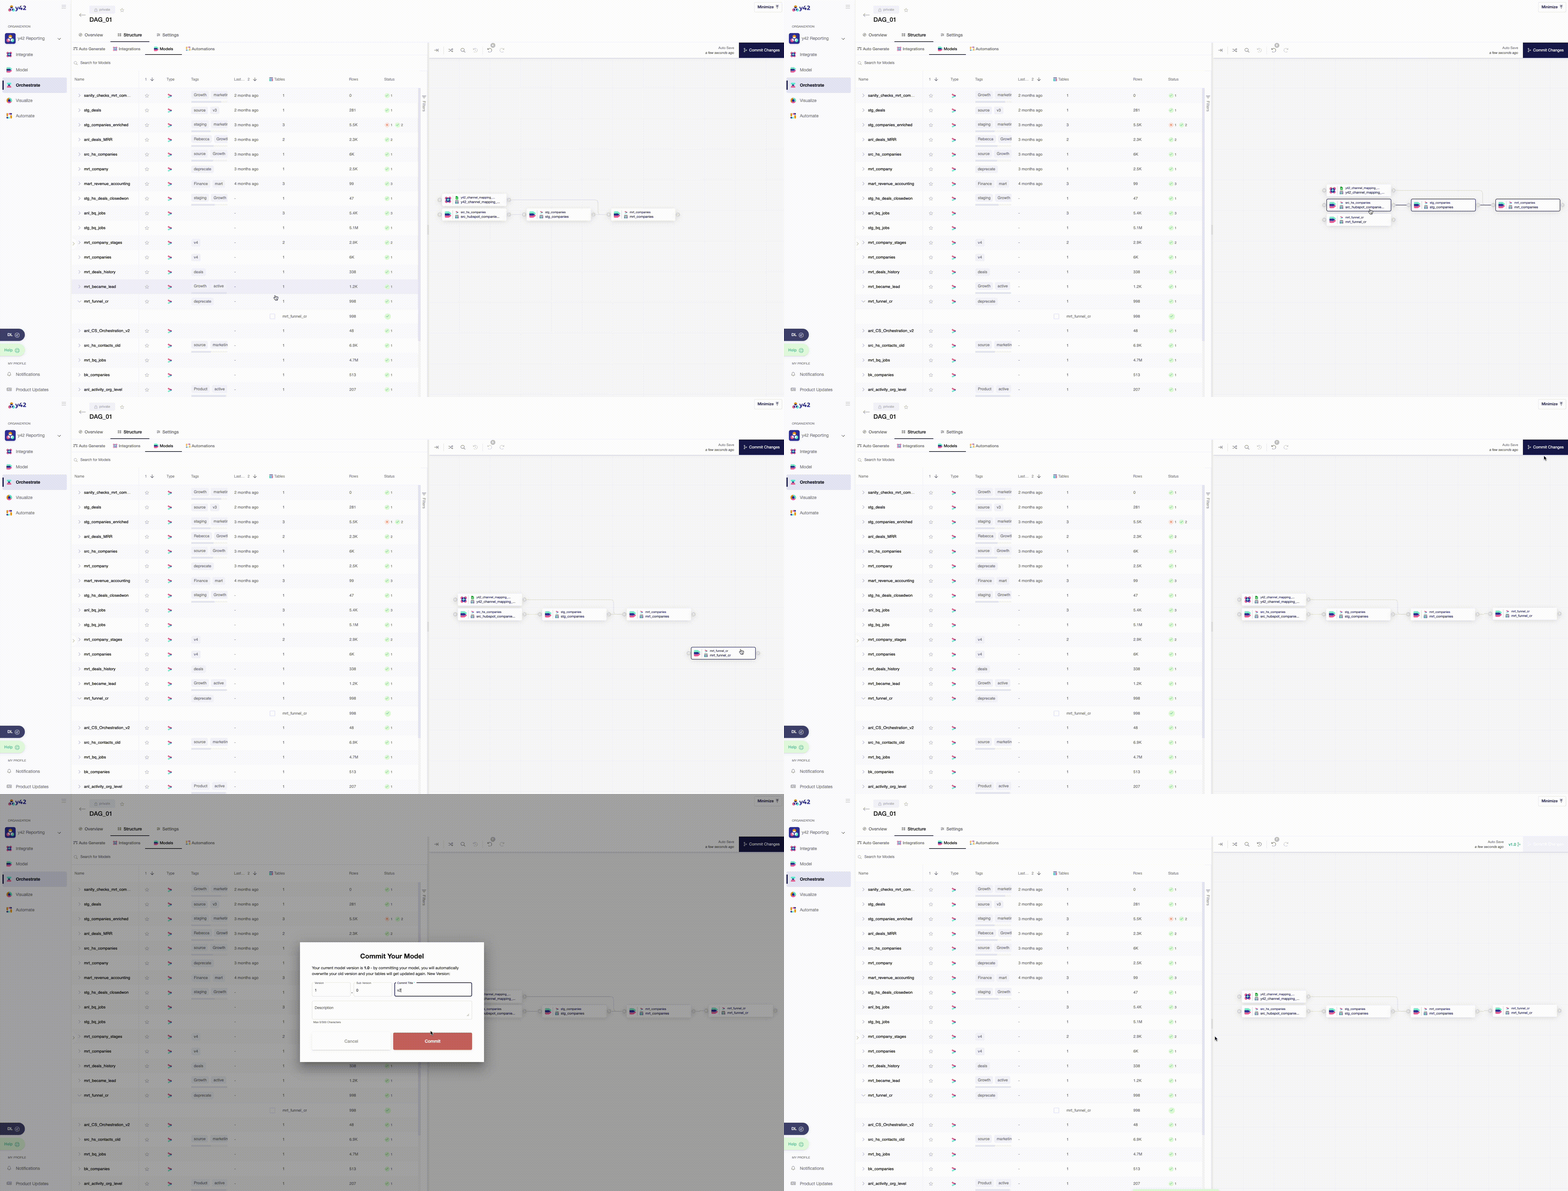
- Once you finish bringing the nodes and setting up the workflow, click on Commit Changes to finish the creation of the Orchestrate DAG.
Data Lineage and the Auto Generate function
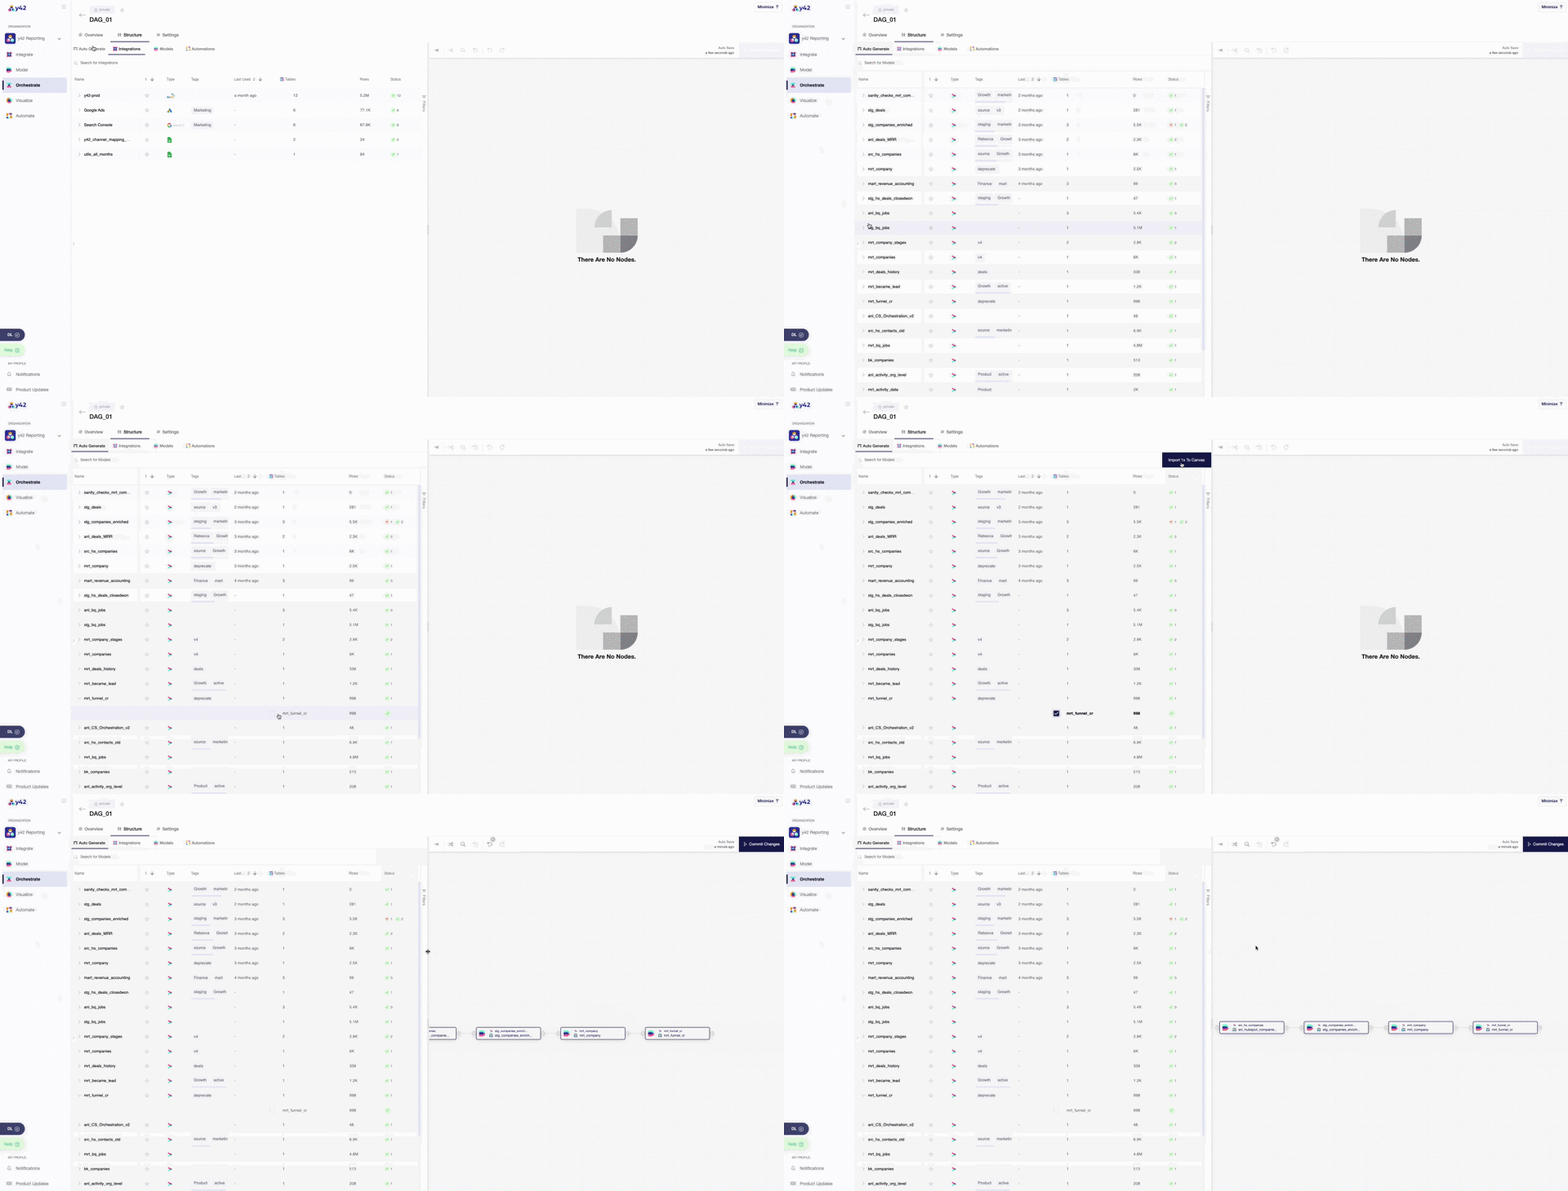
On the left side, in the main navigation bar, you will find a blue button with the letters DL. By clicking on it, you will have access to the view of your entire Data Lineage. You can use such a visual and user-friendly feature to check how all your jobs and models are connected and refer to it when creating a DAG. Alternatively, you can just use Auto Generate when creating orchestrations. 
To make everyone’s life easier, we offer the Auto Generate feature which allows you to select the final table/output you would like to have updated/orchestrated and Y42 will create and connect all the necessary dependencies for you. It is also possible to combine this feature to bring a specific workflow structure to the DAG and then add other job nodes, such as for automations or other models, manually to complement the workflow already created.
How to set up schedules
Once you have created your DAG(s), it’s time to tell them when to run. It is always possible to go to the Overview and click on Trigger Run Now, in case you want to manually make the DAG run, once. However, the best approach would be to set up a time schedule for the DAG to continuously run as often as desired.
To do so, click on Change Schedule. From there you can either use the Advanced tab to write your own cron expression, or you can use the other tabs to set up an hourly, daily, weekly, monthly, or yearly schedule for the DAG. Our Schedule feature allows you to always set up an anchor time for the start of the run. Note: this means the time the first data sources start running, and not the time the final output gets updated.
Additional features
Force Schedule
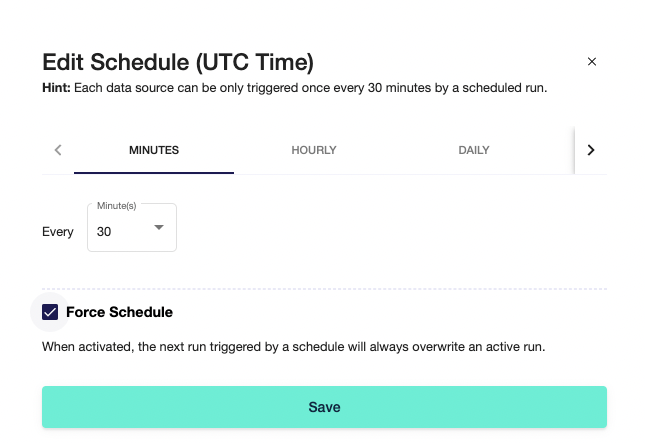
This feature can be found when setting up a schedule for your DAG, and it basically enables the user to allow the DAG schedule to override a running DAG.
For your Orchestration you can set up a schedule of e.g. every 30min. If your Orchestration (DAG) takes longer than 30min to run through, our tool has two options:
- Let the run continue until it's finished, or
- Stop the first Orchestration and restart the Orchestration to let the second one run. If you check the Checkbox, you decide for Option 2.
Email node
You can use the email node feature, as illustrated in the gif below, to connect to a specific node in your DAG -- be it a model, a datasource, or an automation. If that specific node fails during the DAG run, you'll be notified via email (on the emails selected inside the email node). And, don't forget to commit the changes after adding the email node to your orchestration DAG!
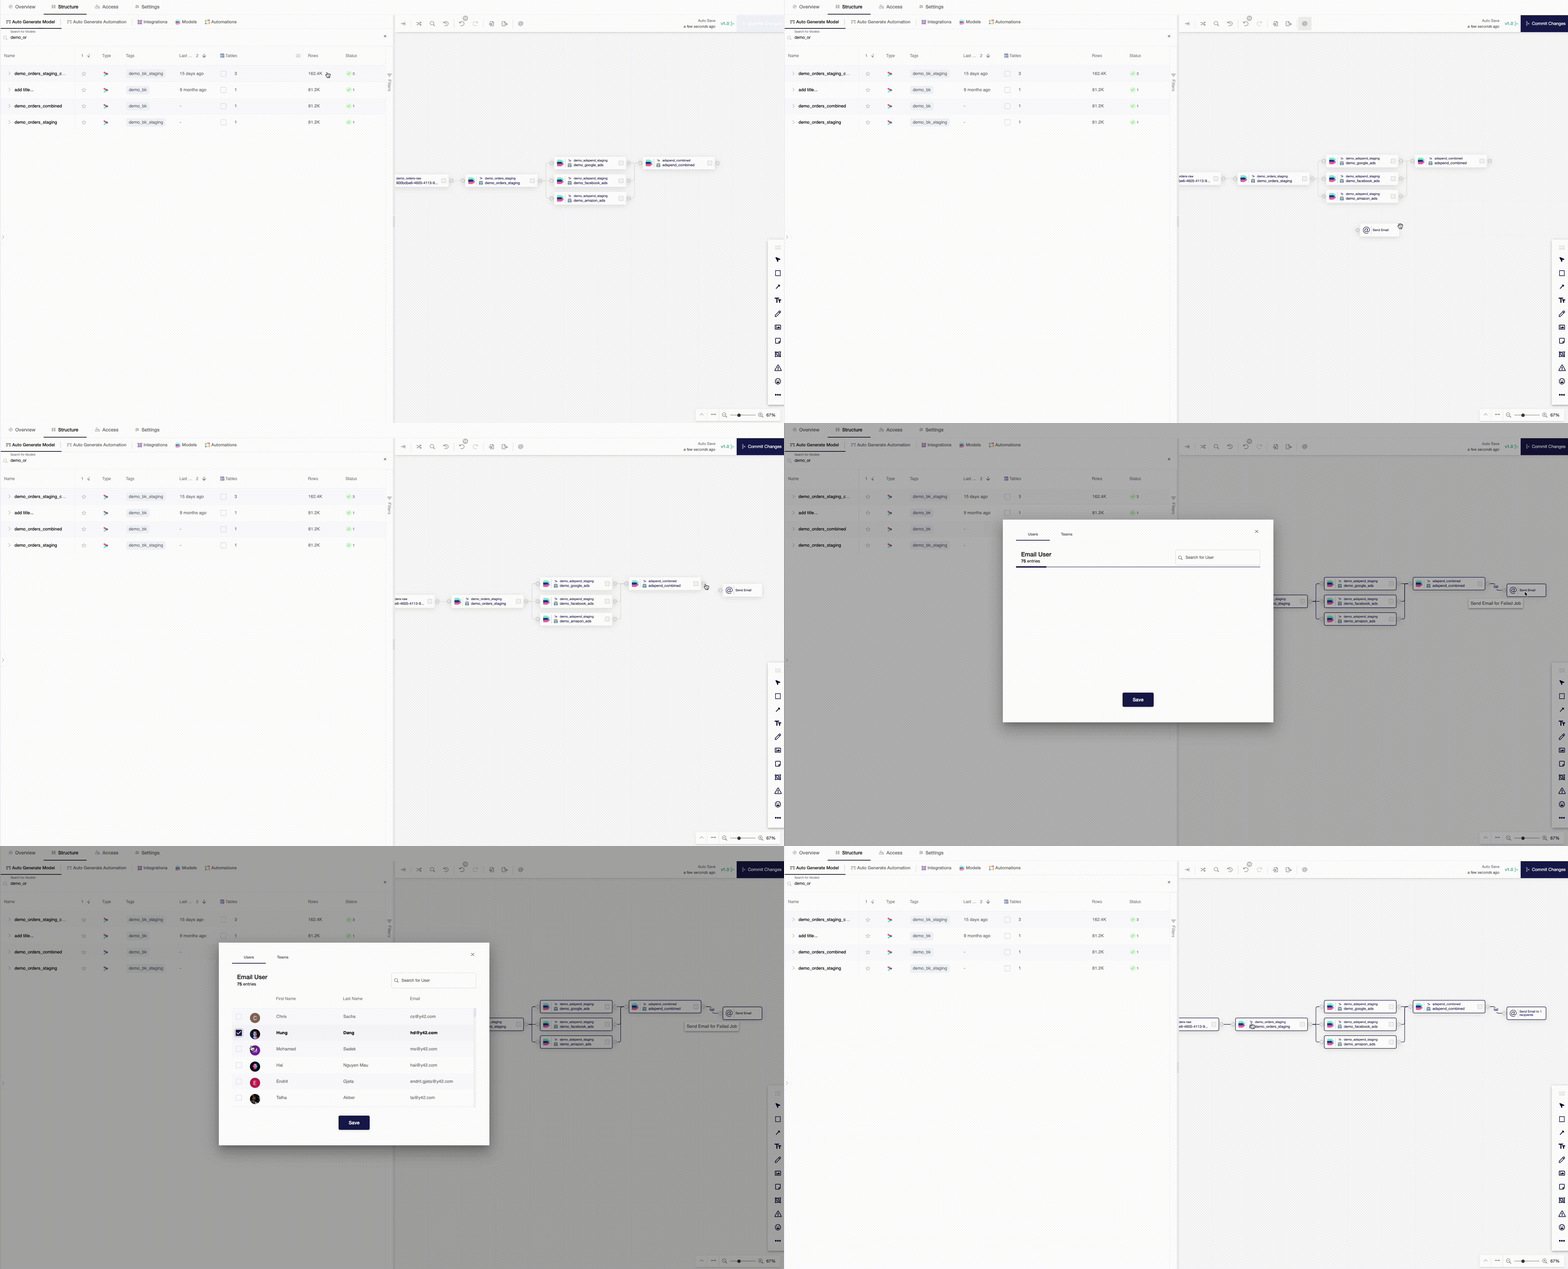
Note: You may check the "Force Schedule" and then also add an email node to the DAG. This way you'll be notified when the data are not getting updated, even when a new DAG run overrides it.
Skip Failed nodes
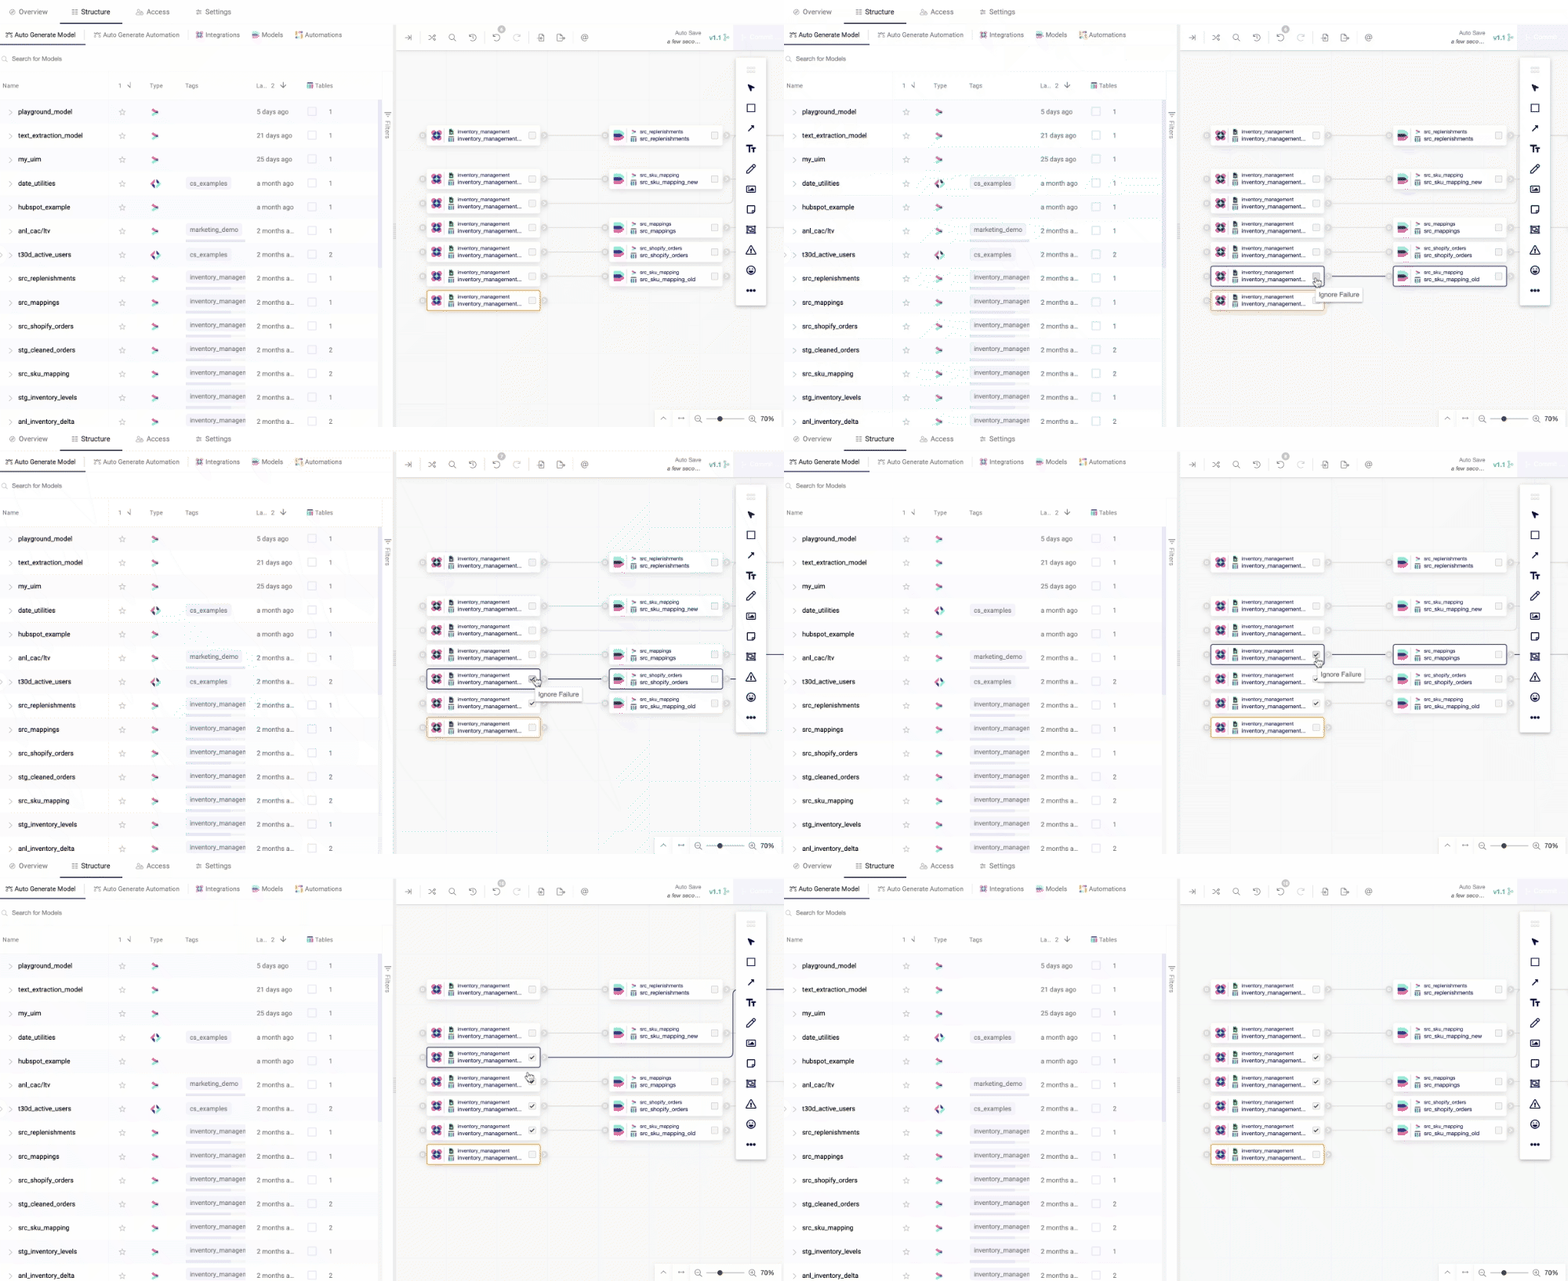
You can skip any failed nodes in your orchestration by clicking on the box on the right of each node. When selecting to skip the node, your orchestration won't be stopped if the node throws an error (e.g., because of a schema change, missing data, failing integration, etc.).
