Quickbooks Integration
In this article, we’ll integrate a Quickbooks data source with Y42.
This Quickbooks integration replicates data using the QuickBooks Online Accounting REST API. Refer to the Basic API resources and resource categories section in the documentation for a list of entities /objects available for replication.
Overview
Authentication
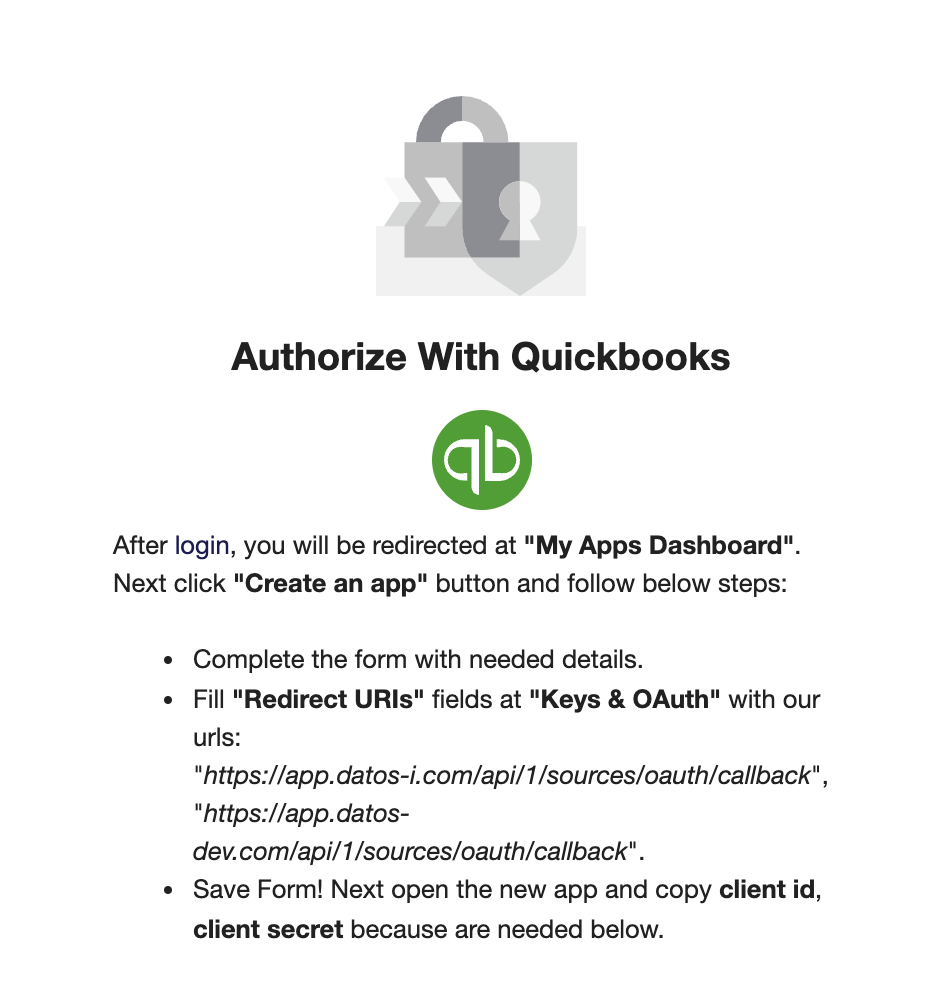
The Quickbooks integration uses the OAuth 2.0 protocol to set up authentication and authorization for your app. You will be required to create a developers account and fill "Redirect URIs" fields at "Keys & OAuth".
Start by creating an app on the Intuit Developer Portal. This app is what you’ll use to access to our APIs. It provides the credentials you’ll need to create authorization requests.
Create a developer account
- Navigate to developer.intuit.com
- On the menu bar click Sign up, which will open the Create your account form.
- Fill out the form and click Create Account, which redirects you to developer homepage.
- Navigate to Account Profile provide a few details to fill out your profile and click Submit.
- Watch the email inbox you specified for a confirmation message and a second message that contains some introductory links to get you started.
Get your app’s credentials
- Sign in to your developer account.
- Select the Dashboard link on the toolbar.
- Select and open an app.
- If you’re connecting a sandbox company, go to the Development section. Then select Keys & OAuth.
- If you’re setting up a production app, go to the Production section. Then select Keys & OAuth.
- Fill "Redirect URIs" fields with our urls:
"https://app.datos-i.com/api/1/sources/oauth/callback",
"https://app.datos-dev.com/api/1/sources/oauth/callback". - Copy the Client ID and Client Secret.
Import Settings
By default the historical date will be set to one year ago. Refer to your own datasource to decide from which exact date you would want to retrieve data.
Schema
Refer to the Basic API resources and resource categories section in the documentation for a list of entities /objects available for replication.
Updating your data
You have the option of scheduling Full imports or Incremental Imports by the month, weeks, days, and even by the hour. With the incremental import you will only add the new rows to that table, while a full import will actually re-import the entire table completely.
Incremental imports significantly increase the import speed, we import your table incrementally based on the last imported state e.g. id - If the table does not have a state, a full import will be triggered - This is done automatically.
Quickbooks Setup Guide:
Note: To link Quickbooks and Y42, you’ll need Access to an active Quickbooks Online Accounting account.
- On Integrate, click on "Add..." to search for Quickbooks and select it.
- Name your integration.
- Sign in with your Quickbooks credentials in the new window that opens.

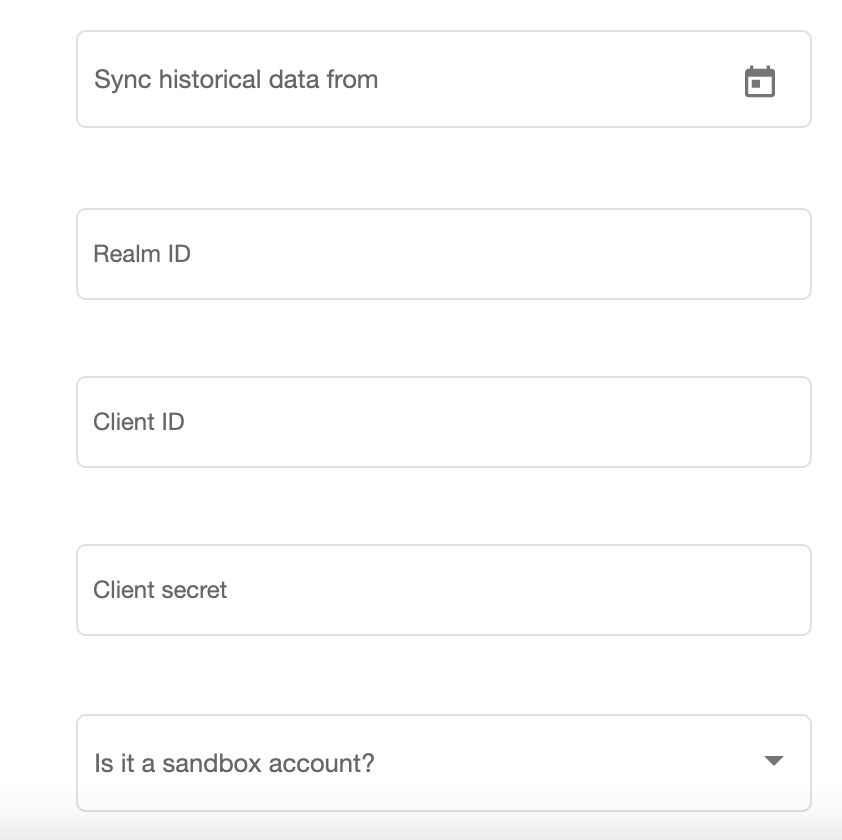
- Fill in all the required fields:

Note: the Client ID and Client Secret can be found at the Keys & OAuth page, but the Realm ID will be found navigating to Quickbooks Online -> Settings/ Account & Settings/ Billing & Subscription. - Click on Authorize and you are good to go.
- Once you have connected your Quickbooks account with Y42, you can start importing your tables.
- Select the tables you need and click import. You can start accessing the tables once the status is “Ready”.
Note: You can always import and reimport other tables as well, or delete them.