Airtable Integration
In this article, we’ll integrate an Airtable data source with Y42.
Overview
Authentication
Application credentials are strongly generated username:password combinations and have a one-to-one binding with a membership in the consortia. They are strictly isolated to the environment in which they are created and can only be used to access a node/service owned by the same membership that created the credentials.
Import Settings
This integration has no import settings.
Schema
There is no predefined schema for this integration. The integration will dynamically load the tables & columns which are defined within your specific system.
Updating your data
For this source you can schedule full imports. Every time the source updates it will fully sync all your data. You have the option of scheduling updates by the month, weeks, days, and even by the hour.
Airtable Setup Guide:
Note: In order to connect Airtable with Y42, you will need to have an Airtable Account.
- On Integrate, click on "Add..." to search for Airtable and select it.
- Name your integration.
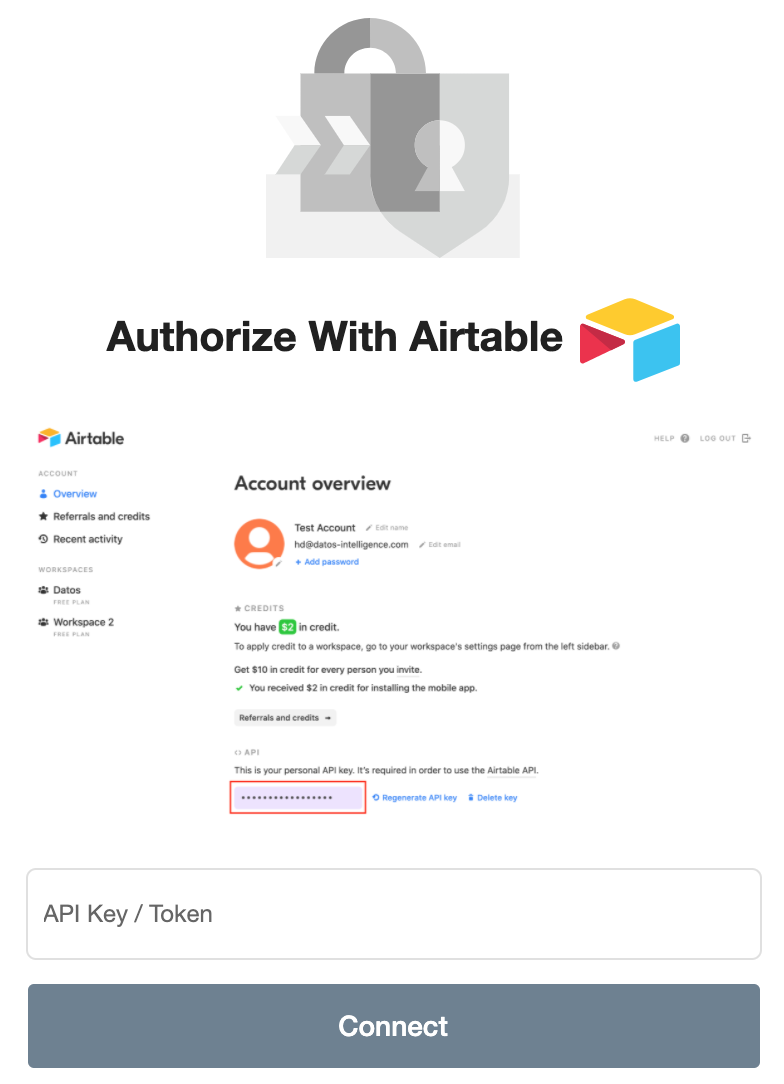
- In the Authorize window, begin by generating your API Key/ Token, to do so, click here.

- Press Connect.

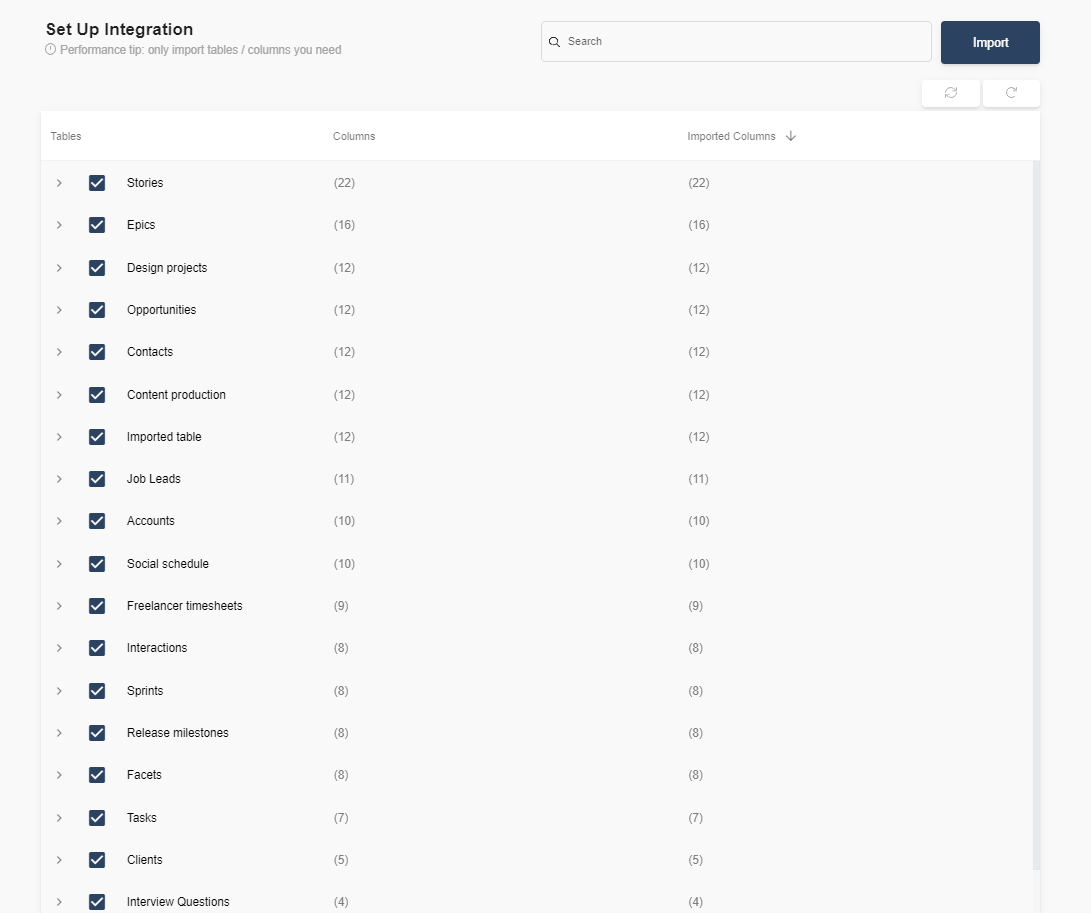
- Select the tables you need and click import. You can start accessing the tables once the status is “Ready”.
Note: You can always import and reimport other tables as well, or delete them.