Snapchat Ads Integration
In this article, we’ll integrate a Snapchat Ads data source with Y42.
On our platform you can configure your Snapchat Ads integration to query all of your Snapchat Ads data and combine them into a single table per report. It is also possible to load data from different Snapchat Ads accounts by selecting the desired accounts and reports you would like to import into y42.
You can find the list of available reports and the available columns, dimension, and metrics for each report on Snpach Ads API documentation.
Overview
Authentication
OAuth doesn’t share password data but instead uses authorization tokens to prove an identity between you and the service provider. OAuth is an authentication protocol that allows you to approve one application interacting with another on your behalf without giving away your password. For instance, when you tell Snapchat that it’s OK for another application or website to access your profile. To sum up, you only need to have an existing account to authorize the access.
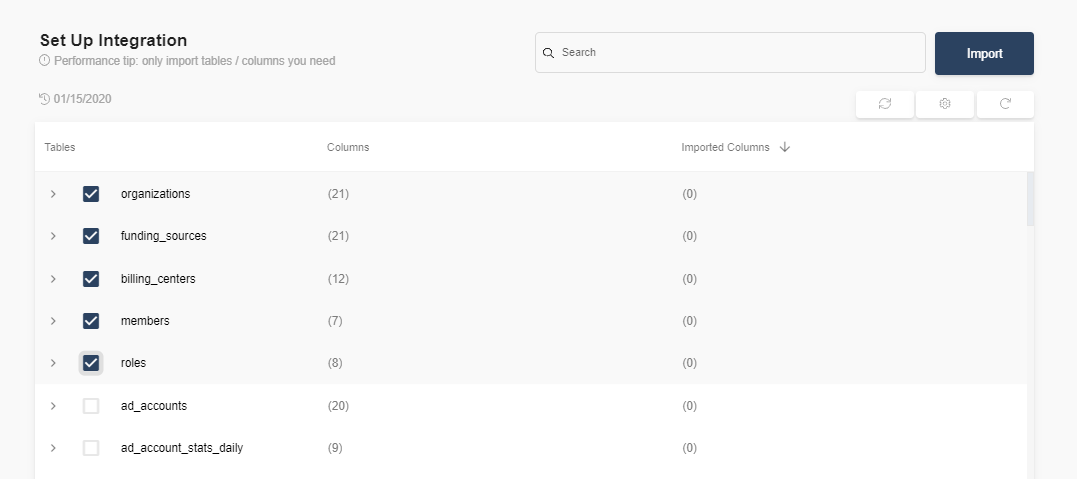
Import Settings
Schema
There is no predefined schema for this integration. The integration will dynamically load the tables & columns which are defined within your specific system.
Historical Date selection
By default the historical date will be set to one year ago. Refer to your own datasource to decide from which exact date you would want to retrieve data.
Updating your data
For this source you can schedule full imports. Every time the source updates it will fully sync all your data. You have the option of scheduling updates by the month, weeks, days, and even by the hour.
Overview
Authentication
Import Settings
Account pre-requisites
Schema
Updating your data
For this source you can schedule full imports. Every time the source updates it will fully sync all your data. You have the option of scheduling updates by the month, weeks, days, and even by the hour.
Note: In order to connect Snapchat Ads with Y42, you will need to have a Snapchat Account.
- Click Authorize and log into your Snapchat Account.
- After authentication, you are good to go and start importing your tables.

- Choose from which point onwards in time to import your data.
- Select the tables you need and click import. You can start accessing the tables once the status is “Ready”.
Note: You can always import and reimport other tables as well, or delete them.