Zendesk Integration
In this article, we’ll integrate a Zendesk data source in Y42.
Overview
Authentication
Import Settings
Account pre-requisites
Schema
Updating your data
You have the option of scheduling imports or Incremental Imports by the month, weeks, days, and even by the hour. With the incremental import, you will only add the new rows to that table, while a full import will actually re-import the entire table completely.
Incremental imports significantly increase the import speed, we import your table incrementally based on the last imported state e.g. id - If the table does not have a state, a full import will be triggered - This is done automatically.
We recommend therefore to schedule an incremental import regularly, but also schedule a full import with a certain frequency -- this is because only the full import will guarantee that old rows that have been updated on the data source will also get updated on your Y42 integration destination.
Zendesk Setup Guide:
Note: In order to connect Zendesk with Y42, you will need to have a Zendesk Account.
- Add in your Sub-Domain, e.g. https://[subdomain].zendesk.com/
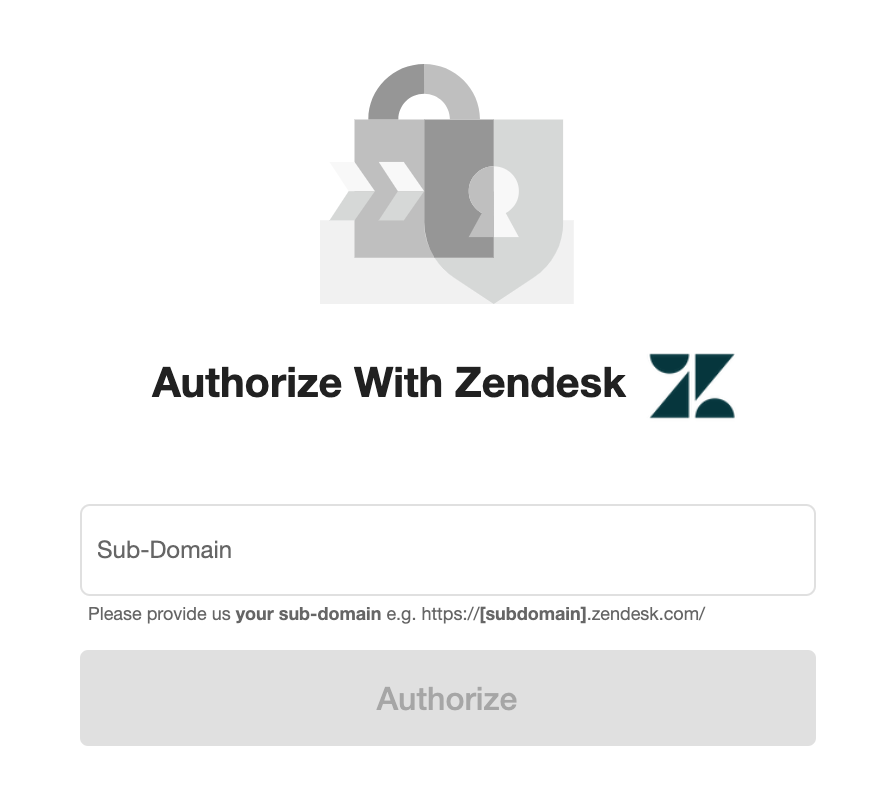
- Click Authorize and log into your Zendesk Account.
- After authentication, you are good to go and start importing your tables.

- Choose from which point onwards in time to import your data.

- Select the tables you need and click import. You can start accessing the tables once the status is “Ready”.
Note: You can always import and reimport other tables as well, or delete them.