Google Analytics Integration
In this article, we’ll integrate a Google Analytics data source with Y42.
Google Analytics lets you analyze data about customer engagement with your website or application.
A guide on how to best understand and use the data from the API is available here on the Google Analytics Raw Data Guide.
Overview
Authentication
OAuth doesn’t share password data but instead uses authorization tokens to prove an identity between you and the service provider. OAuth is an authentication protocol that allows you to approve one application interacting with another on your behalf without giving away your password. For instance, when you tell tell Facebook that it’s OK for another application or website to access your profile. To sum up, you only need to have an existing account to authorize the access.
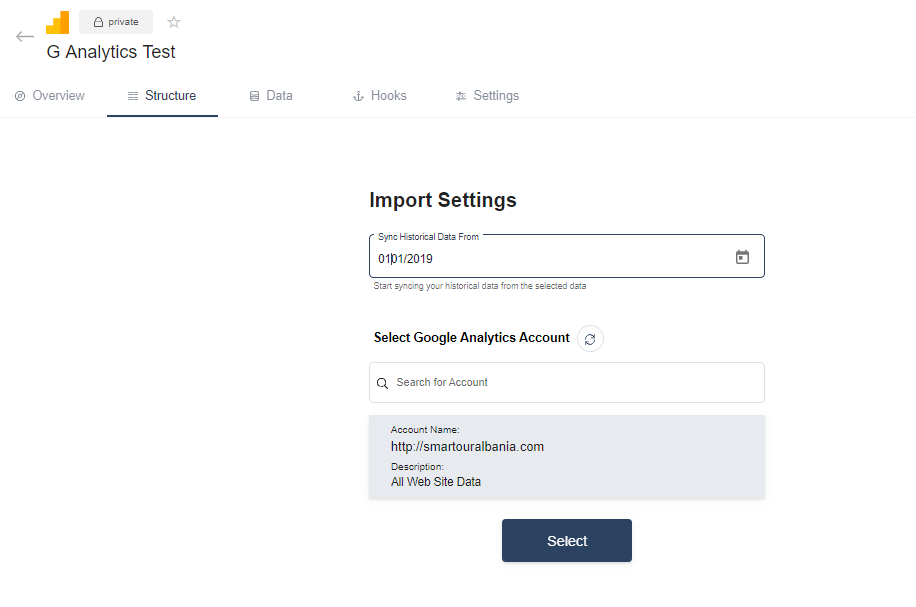
Import Settings
By default the historical date will be set to one year ago. Refer to your own datasource to decide from which exact date you would want to retrieve data.
Account pre-requisites
Schema
Updating your data
For this source only a full import is possible. You have the option of scheduling updates by the month, weeks, days, and even by the hour.
Google Analytics Setup Guide:
Note: In order to connect your Google Analytics account with Y42, you will need to have a Google Account.
- On Integrate, click on "Add..." to search for Google Analytics and select it.
- Name your integration.
- Click Authorize and log into your Google account.
- Click Authorize and log into your Google account.
- After authentication, you are good to go and start importing your tables.
- Choose from which point onwards in time to import your data.
- Add in your Google Analytics Account and press Select.
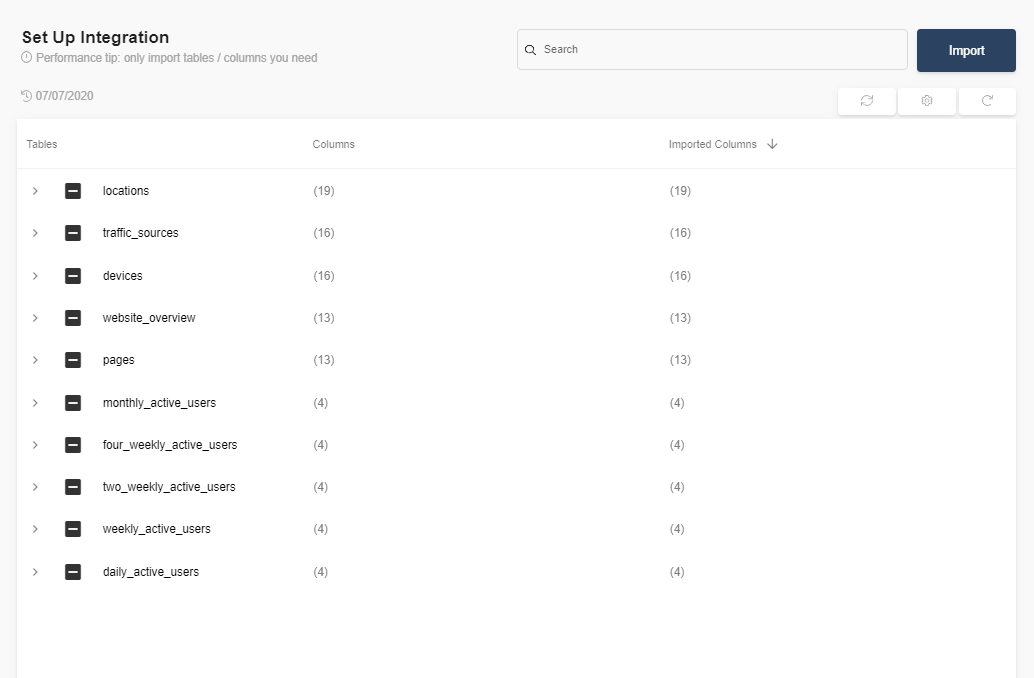
- Select the tables you need and click import. You can start accessing the tables once the status is “Ready”.
Note: You can always import and reimport other tables as well, or delete them.