Fill Node
The Fill Node, as its name suggests, is used to fill the empty (NULL) values of the source column.
The user can decide the way it fills them, by choosing one of these functions:
- FIRST_VALUE function → replaces Null with the first non Null value in its Partition
- LAST_VALUE function → replaces Null with the last non Null value in its Partition
- NTH_VALUE function → replaces Null with the Nth non Null value in its Partition
- AVG function → replaces Null with the Average non Null value in its Partition
- CONSTANT function → replaces Null with a Constant value you choose. (For example you could replace NULL with 0 or any value)
For instance, let's assume we have these data input here:
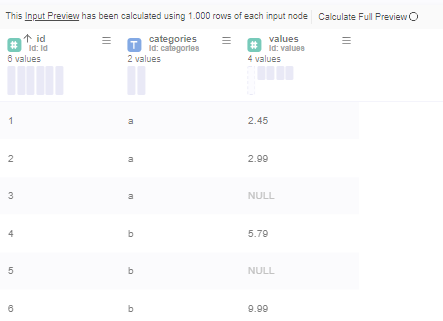
As you can see we have 2 NULL values for id 3 and 5, and we want to fill these empty values programmatically.
We could fill them with the first non NULL value (FIRST_VALUE function) of the Category by partitioning the data into categories and ordering by ID:
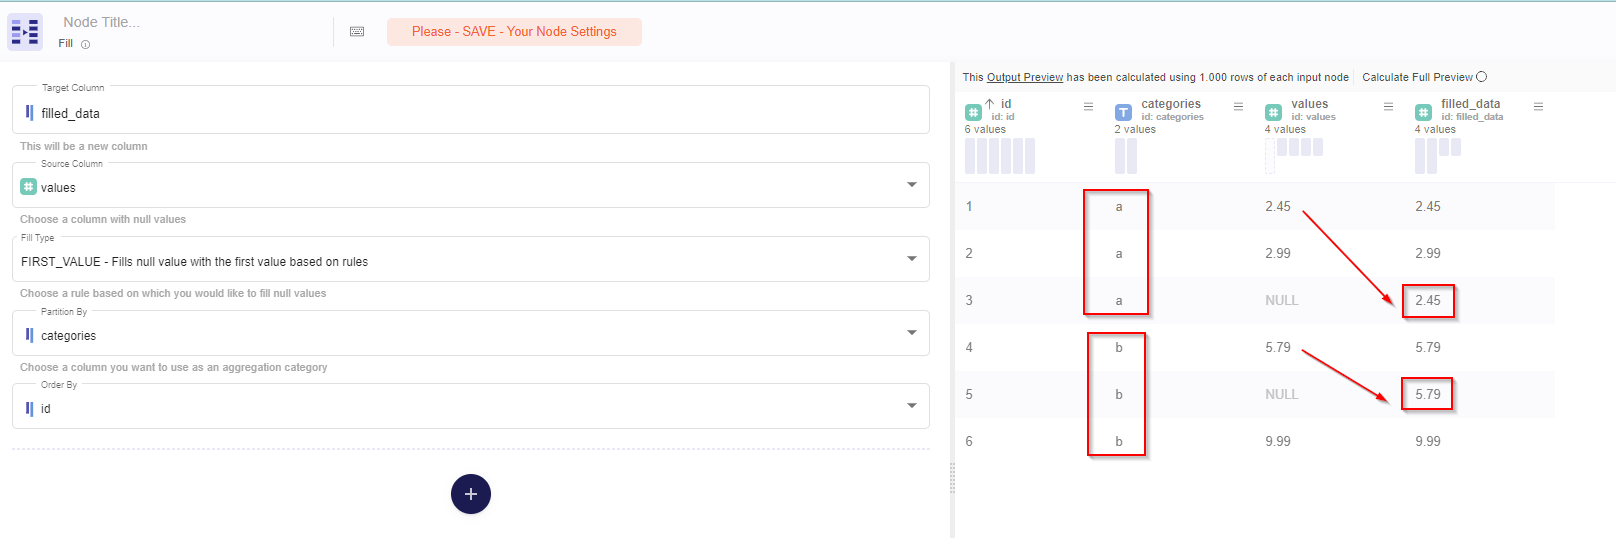
As you can see we just replaced NULL with he first value of its category partition, and we could apply the same filling logic using the other filling functions mentioned in the beginning of the article.
Setting up your Fill Node
In order to set it Up the user must Connect the Fill node with any Node:
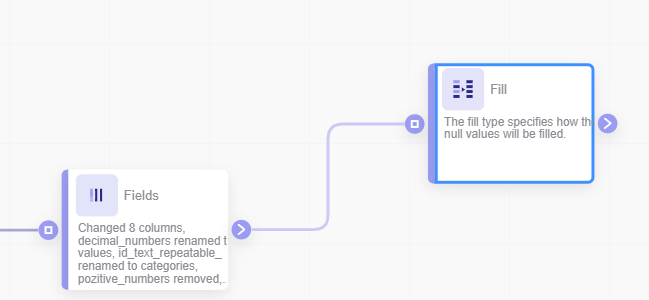
Then open the Fill node and do the following:
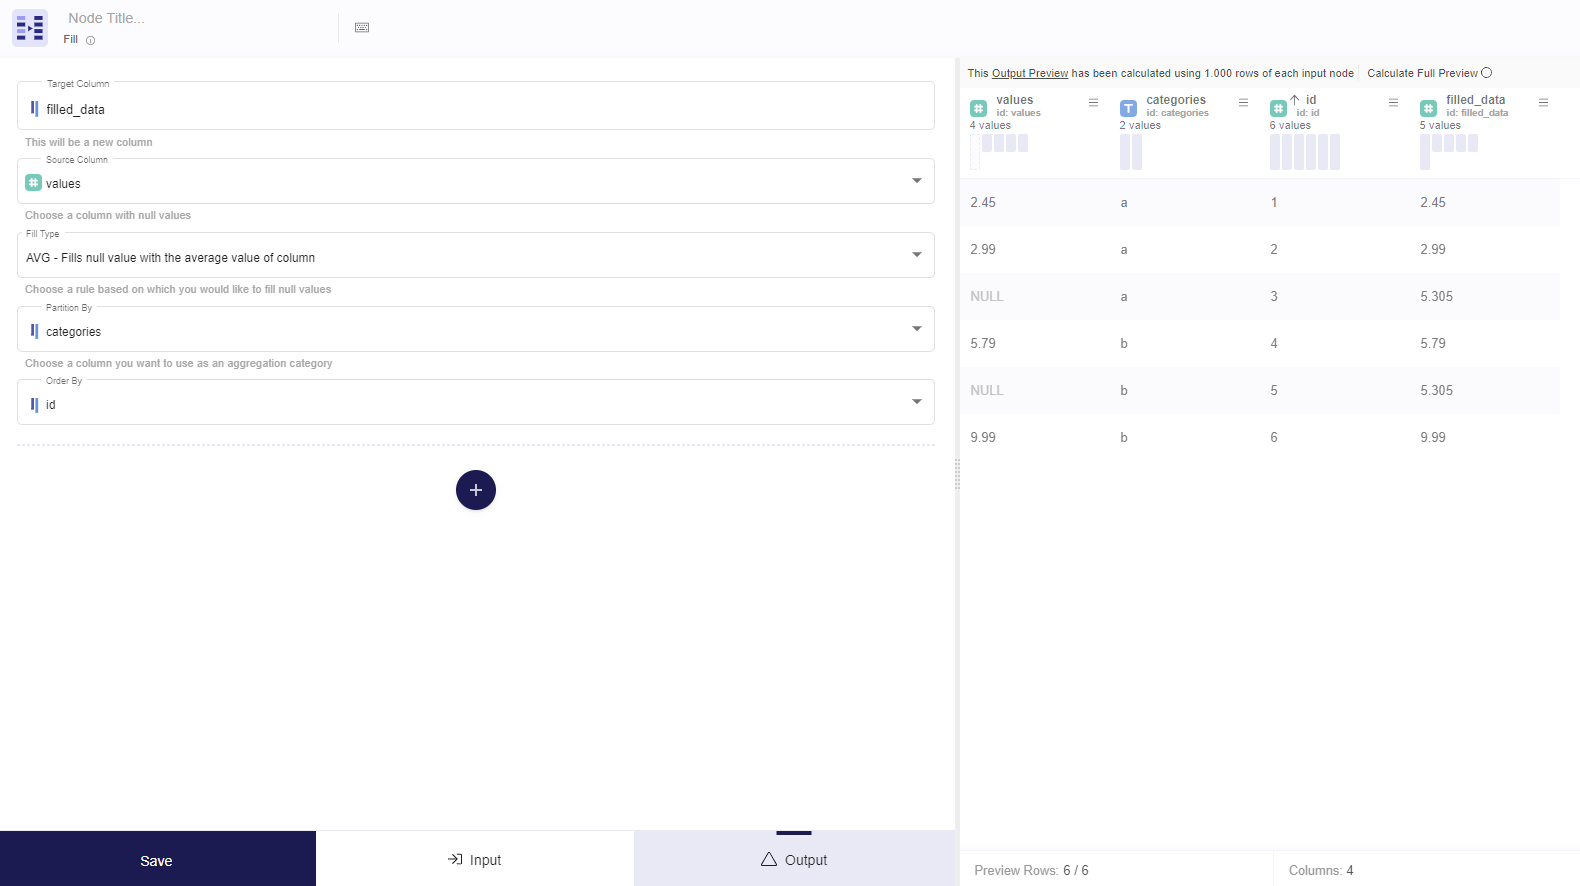
1- Define the Target Column. If you want the data to appear in a new column you should type a new column name. Otherwise you can choose to place the filled data into an existing column by selecting that column as the target column.
2- Select the Source Column. This should be the column that contains the NULL values.
3- Select Fill Type function. Here, you may select the criteria by which the NULL values is going to be filled.
4- Select the Partition By Column/s. (Optional)
This step is optional. Here we can group by an other column's values, as in our example by categories which had values "a", "b". If we choose to not partition the data all the set of data will be taken as it is without being grouped.
5- Select the Order By Column/s. (Optional)
This step is optional. Here we can order the data set by a desired column's values (as in our example by ID ascending). If we choose to not order the data the order of the data set will be taken as it is.
Note: Please take into consideration that steps 4 and 5 are important for choosing the right value (having control) you want to fill NULL with.
If you choose to Fill with Constant there is no point of doing step 4 and 5 because the result will be the same even if you don't do these steps.
Once you're done with this transformation, you can either perform further transformations or, if you want to export the new data table, click Commit Model.